Learn how to make a MacOS bootable drive on a windows Machine and found out if it is even possible???
Make a MacOS Bootable Drive on Windows overview:
What is a bootable disk?
Also known as a startup disk or boot disk, a bootable disk contains specific files required for a computer to boot into an OS (Operating System). If the disk is a removable media (e.g. USB or CD), it bypasses the internal drive, depending on the BIOS settings of the computer. The CD drive was mostly used to troubleshoot the computer.
What is needed?
So, you may ask what is needed then? Well what we need is:
- A Windows Computer
- Removable Media drive
- MacOS ISO image
- TransMac
Instructions
Step 1: Checking USB compatibility
Firstly, we need to make sure that the drive you are using is large enough. Aim to have a drive that is at least 8GB in size.
Step 2: Downloading necessary ISO Image’s
Secondly, we need to get a MacOS ISO image. Now, you may say this is impossible to get without the help of another mac. But, there is a way to get these ISO images for MacOS. These can be easily found by searching up on google.
Step 3: Downloading and Installing TransMac
Next, we need to install TransMac. Now, TransMac’s official site has a broken download link, so you will need to use the button below to download it.
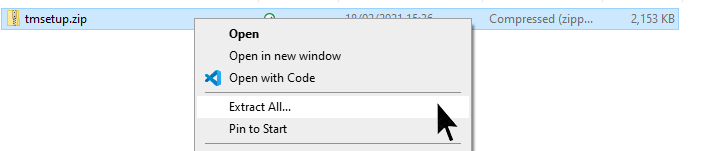
Once you have downloaded the tmsetup.zip file, you can unzip it.
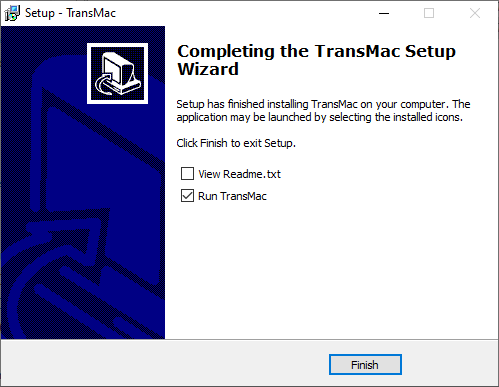
After extracting the file, proceed to open the “setup.exe” file. Follow the install wizard by accepting the terms and conditions and choosing where you would like TransMac to be installed (optional). Click ‘Next’ a couple of times. Then, on the last page, uncheck “view Readme.txt” and keep ‘Run TransMac’ checked. Then click the ‘Finish’ button.
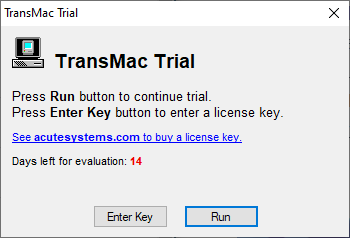
TransMac will then leave you with a popup asking you to buy a license key and to enter it or wait 10 seconds and continue with a 15 day trial (evaluation period). Here, you should just wait for 15 seconds and hit run when it has completed the countdown. Even if you want to use TransMac for more than 15 days, you do not need to buy a license key as described in this post.
Important Notice
When you run TransMac you must run it as administrator
You have now successfully downloaded and installed TransMac and you are now ready for Step 4!
Step 4: Configuring TransMac ready to create bootable media
Now you must insert your USB (or media of choice) into your device. Make sure you put it in the right way 🙂 !
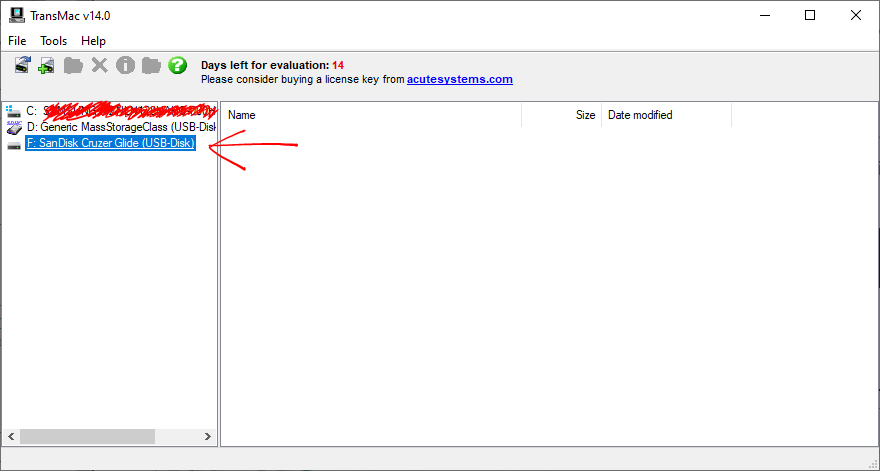
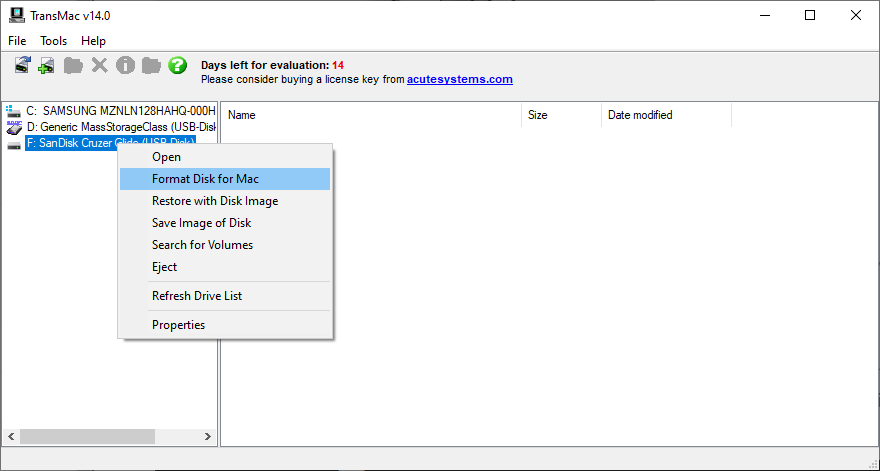
Then head over to TransMac and make sure it can see your storage device as shown in the image below.
Then you will need to select the drive you would like to use and right-click it to bring up a mini menu. Then, select the option that says ‘Format Disk for Mac’ as shown in the below image.
Important Notice
Make sure you have backed up all of your files on the chosen disk as they will be removed and you have no way of recovering them
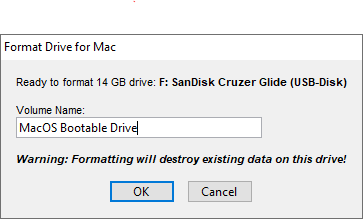
A dialog box will pop up to let you know that formatting the disk will overwrite all files. Make sure your files are backed up and hit ‘Yes’. Give your drive a name such as ‘MacOS Bootable Drive’ and hit ‘OK’. It will ask you if you are sure you want to continue. Hit ‘Yes’.
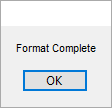
Let TransMac do its thing (it should be finished quite quickly). You will then get a popup box like this:
Windows may also give you a dialog box saying that your drive is unreadable and you need to format it as seen in the below image:
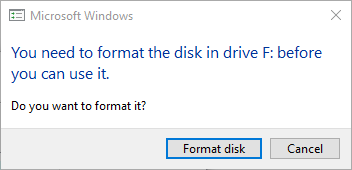
Just ignore this message and hit the ‘Cancel’ button.
Step 5: Restoring Disk Image to selected drive
Now, head back over to TransMac and then we need to right-click our chosen storage device again and this time select the option that says ‘Restore with Disk Image’. This will bring up a dialog box telling you that the disk may contain mounted PC Volumes and restoring will overwrite them. As we know we have just formatted this drive, we can safely hit the ‘Yes’ button.
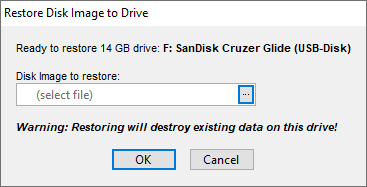
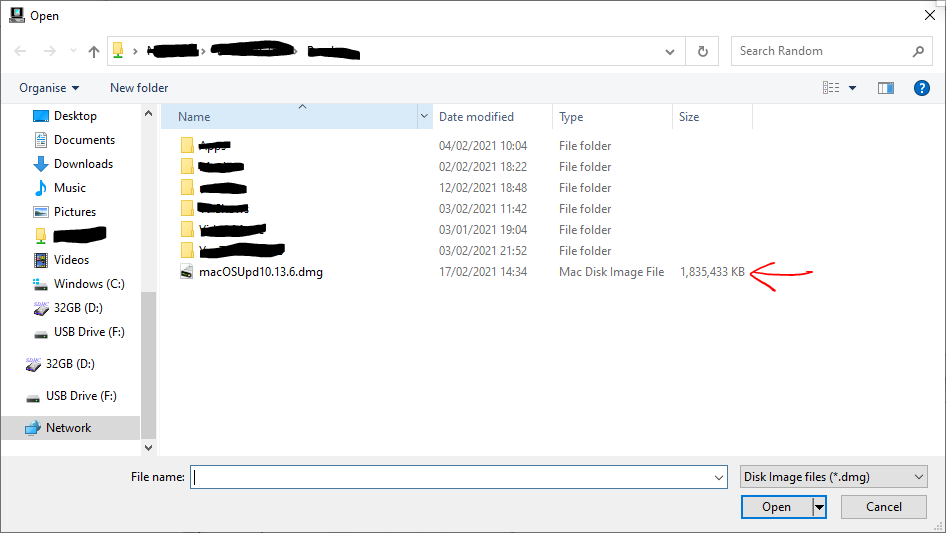
You will then be presented with a new dialog box telling you it is ready to restore a Disk Image to the chosen drive. Click the three dots and browse to the disk image file.
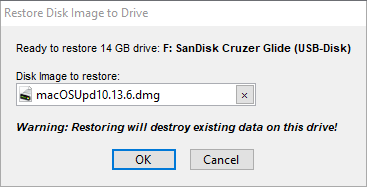
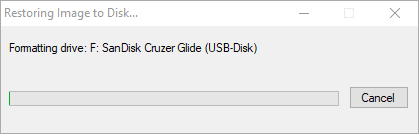
After you have selected the correct Disk Image file, press the ‘OK’ button and if another dialog box pops up and says that ‘This is a compressed dmg. It will be decompressed on the fly’ just hit the ‘Yes’ button. TransMac will now start restoring the Disk Image to the selected drive. This may take anywhere between 5 and 30 minutes depending on Disk Image size and read and write speeds of the computer and the disk drive.
Once completed, you will get a message saying ‘Restore Complete’. Hit ‘OK’ and close the TransMac application. You can now safely take out your drive and boot from it on another computer.
Poll: Should TransMac be allowed?
[hurrytimer id=”1410″]
